Professional Wedding Invitation Techniques
If you decide to leave the invitation creation to the professionals, there are many different options to consider with just as many different
price points.
We’ve created a quick reference list to break down basic invitation- printing techniques.
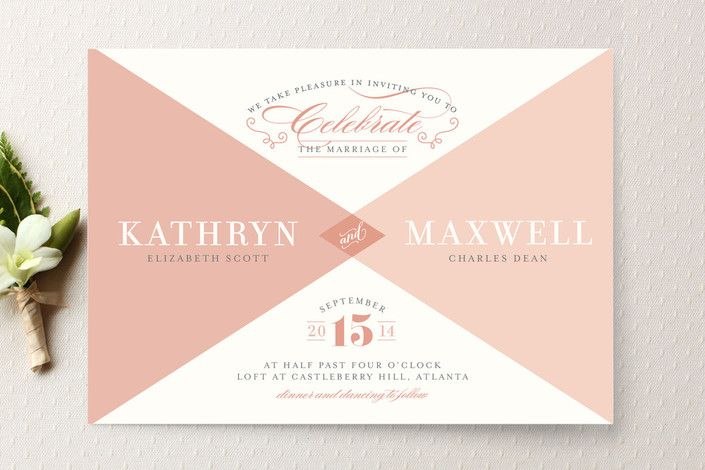
Digital Printing
The simplest and cheapest form of
custom invitations. It’s termed ‘digital’ as there is no physical plate being used to produce the image- rather, all images used are saved computer files. This print is smooth to touch, fast, and inexpensive. The process is about choosing a design either online
or in the store, customizing the text, fonts and layout as well as the
card style and paper types and having them printed. The biggest advantage
with this is that the designs are only limited by your imagination as
basically anything can be printed. In leading printing houses, the images will be printed using enormous presses, resulting in the same professional quality as flat printing. At budget printers or copier companies, however, will use toner instead of ink on a machine that essentially functions like a photocopier. This will result in the shiny toner ‘sitting’ on top of the paper, as opposed to being absorbed into the paper and providing even, flat coverage. Whilst this is perfectly acceptable for everyday, commercial purposes, such as printing a memo for your office, it’s not necessarily a look you want acheived for as auspicious a document as your wedding invitations. So take care to clarify when making your purchase as to whether the company uses in or toner.
Price: $
(Courtesy etsy.com)
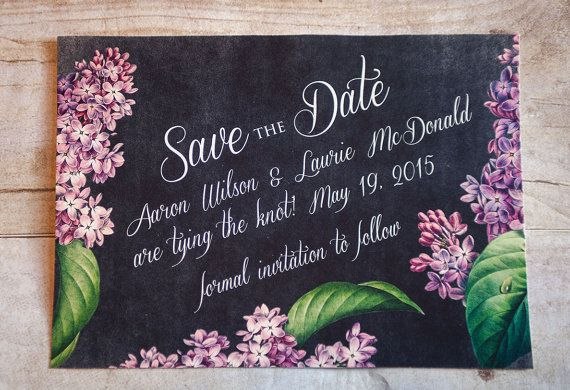
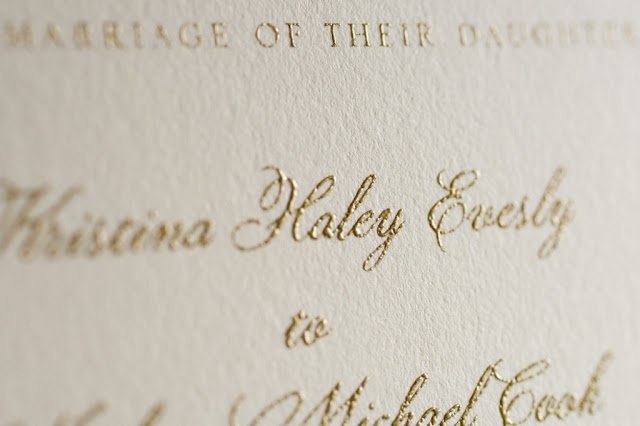
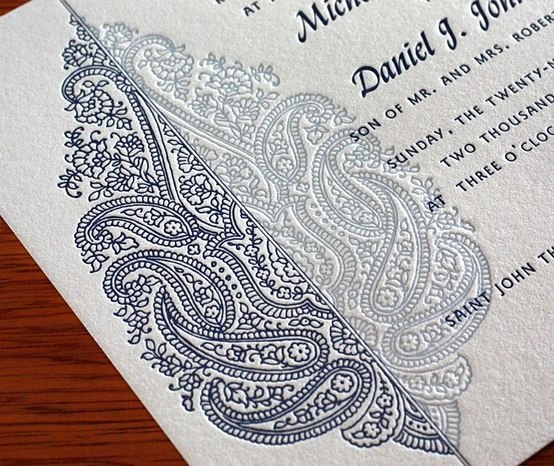
Engraving
This method of printing has the most traditional method of printing. Here, the design is cut into a copper plate, which is then coated with ink, and then wiped clean so that the ink remains only in the deeper grooves of the copper plate. Paper is then placed into the plate, with this stamping method simultaneously shaping the paper as well as colouring it from where the ink remains. The result is raised lettering and images on the front, and subsequent indentations on the back. Generally speaking, any colour card stock may be used. The only provision is that it is quite thick. The time and workmanship that go into creating this printing are considerable, and mean that this is one of the more expensive forms of printing.
Price: $$$$$
(Courtesy pinterest.com)
Embossing
Similar to engraving, the paper is passed through two personalised metal sheets to acheieve raised lettering and motifs. Colour can be applied to the invitations, or it can remain ‘blind’, where no colour is used at all. To acheive the most visually effective results, thick, smooth card stock should be used.
Price: $$$$

(Courtesy graphic-exchange.com)
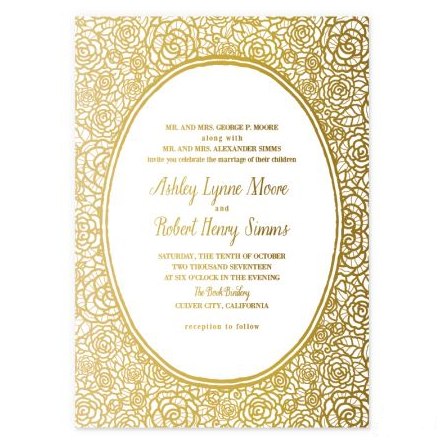
Flat Printing/ Lithography/ Offset Printing
Despite the many and seemingly complicated names given to this process, this is one of the simpler printing methods used in modern printing. This owrks very similarly to your at-home printer; generally, the printer will use four colours, abbreviated to ‘CMYK’ (cyan, magenta, yellow and black) to flat- print any and all colours of the rainbow by layering the four colours in a specific combination. Additionally, you can use ‘spot colours’, where the specific desired colour is mixed rather than acheived by layering other colours, which results in an extremely clean, crisp look. In both these processes, the image is transferred from an inked plate to a rubber blanket, over which the paper is pressed. This suits a wide variety of paper stocks. Varnishes and metallic finishes can additionally be utilized to add a bit of depth to the print.
Price: $$
(Courtesy minted.com)
Thermographic Printing
This refers to two types of printing, both of which are called ‘thermographic’ printing as they both rely on heat for the finished print:
1. The paper has been coated with a material that changes colour once it is heated up. No ‘stamping’ or ‘painting process that we associate with printing (think typewriters or even modern printers) is used- heat is simply applied in the shape of letters and images.
2. A post print process where heat is used to in raise the ink above the paper, giving it a sort of reverse-engraved effect.
Price: $$$$
(Courtesy perfectweddingcollections.blogspot.com)
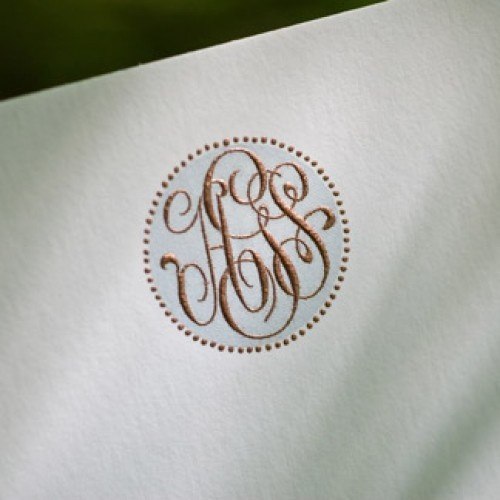
Foil Stamping
Like an engraving, a unique design is cut into a copper plate. The paper is pressed intro the cut and pressure is applied (known as ’embossing’). Metal dyes are then applied to the copper plate, the paper is pressed intor the cut again, and foil (as opposed to ink) is stamped into the paper using high amounts of pressure. This results in a thick, lustrous finish. The best results are acheived with smooth paper, to ensure a shiy, even effect. The colour paper used does not effect the look of the metallic foil, as the foil is an opaque piece of material, rather than any type of dye which is absolrbed by the paper.
Price: $$$$$
(Courtesy smittenonpaper.com)
Laser Engraving
As the name suggests, lasers are used to engrave on the surface of your about-to-be invitation. We suggest using a thicker medium than cardstock, as a) the laser does penetrate fairly deeply (and would make laser engarved invitations made from paper liable to tear easily), and b) will appear clearer to read.
Price: $$$$
(Courtesy designinspiration.net)
Laser Cutting
Here, lasers are used to cut intricate designs into cardstock. This results in stunning, polished, and fairly fragile invitations. Perfect for any outer layers of your wedding invitation, such as pages that fold out to reveal the text. This should not be used to cut out the actual text, however, as it can render the important details of the event unreadable (unless a solid piece of cardstock is placed behind the cut piece)! Appplying laser cutting to sturdier materials such as wood or perspex can enable your guests to detach the image from the page and use it- such as cutting out a life size picture of an engagement ring! Brilliant for bringing a bit of whismy and fun to your invitation.
Price: $$$$
(Courtesy papelcouture.com)
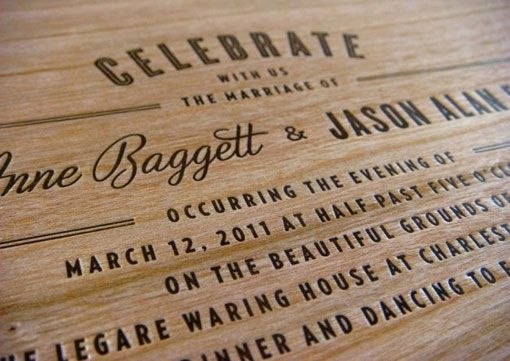
Letter Press
The oldest printing process that has recently come into vogue again. This is done on a
Gutenberg style press where your design is laid out in a mould then
pressed against your choice of paper (usually quite thick) for a deep engraved
look (though originally, letters making a physical impression on the paper was considered to be a mark of poor workmanship). The letters can either be printed in colour or ‘blind’, where no ink is used at all. This is a beautiful option but does require a lot of hands-on work
and together with the initial set-up fee can become costly.
Price: $$$$
(Courtesy pinterest.com)
Screenprinting/ Silksceening
In this process, ink is pushed through a mesh screen and onto an ink blocking stencil, which is laid over your cardstock. The ink appears on the paper where the stencil is absent, creating whatever images you desire. For invitations using multiple colours, this process is repeated. This method isn’t often applied to intricate invitation, but usually used for large, bold pieces, such as promotional signs. It results in a solid, opaque colour with even coverage. The coloured parts of the invitations may be a little raised, depending on the thickness of the ink and the porosity of the paper/ material used. You can use this method for just about any surface, so this is a great one to use if you don’t plan on using conventional invitations! Generally speaking, the more colours you use, the more labour intensive and materials used, so expect to pay extra.
Price: $$$
(Courtesy doing-fine.com)
So best thing to do from here is chat to some wedding invitation suppliers. Some will have shops where you can go in for a design consultation and others will be online based. A bit of online research will go a long way and as usual we would love to hear what you have found and what you think will work best for your wedding. Post your findings on our Facebook Page or email us to keep us in the loop!