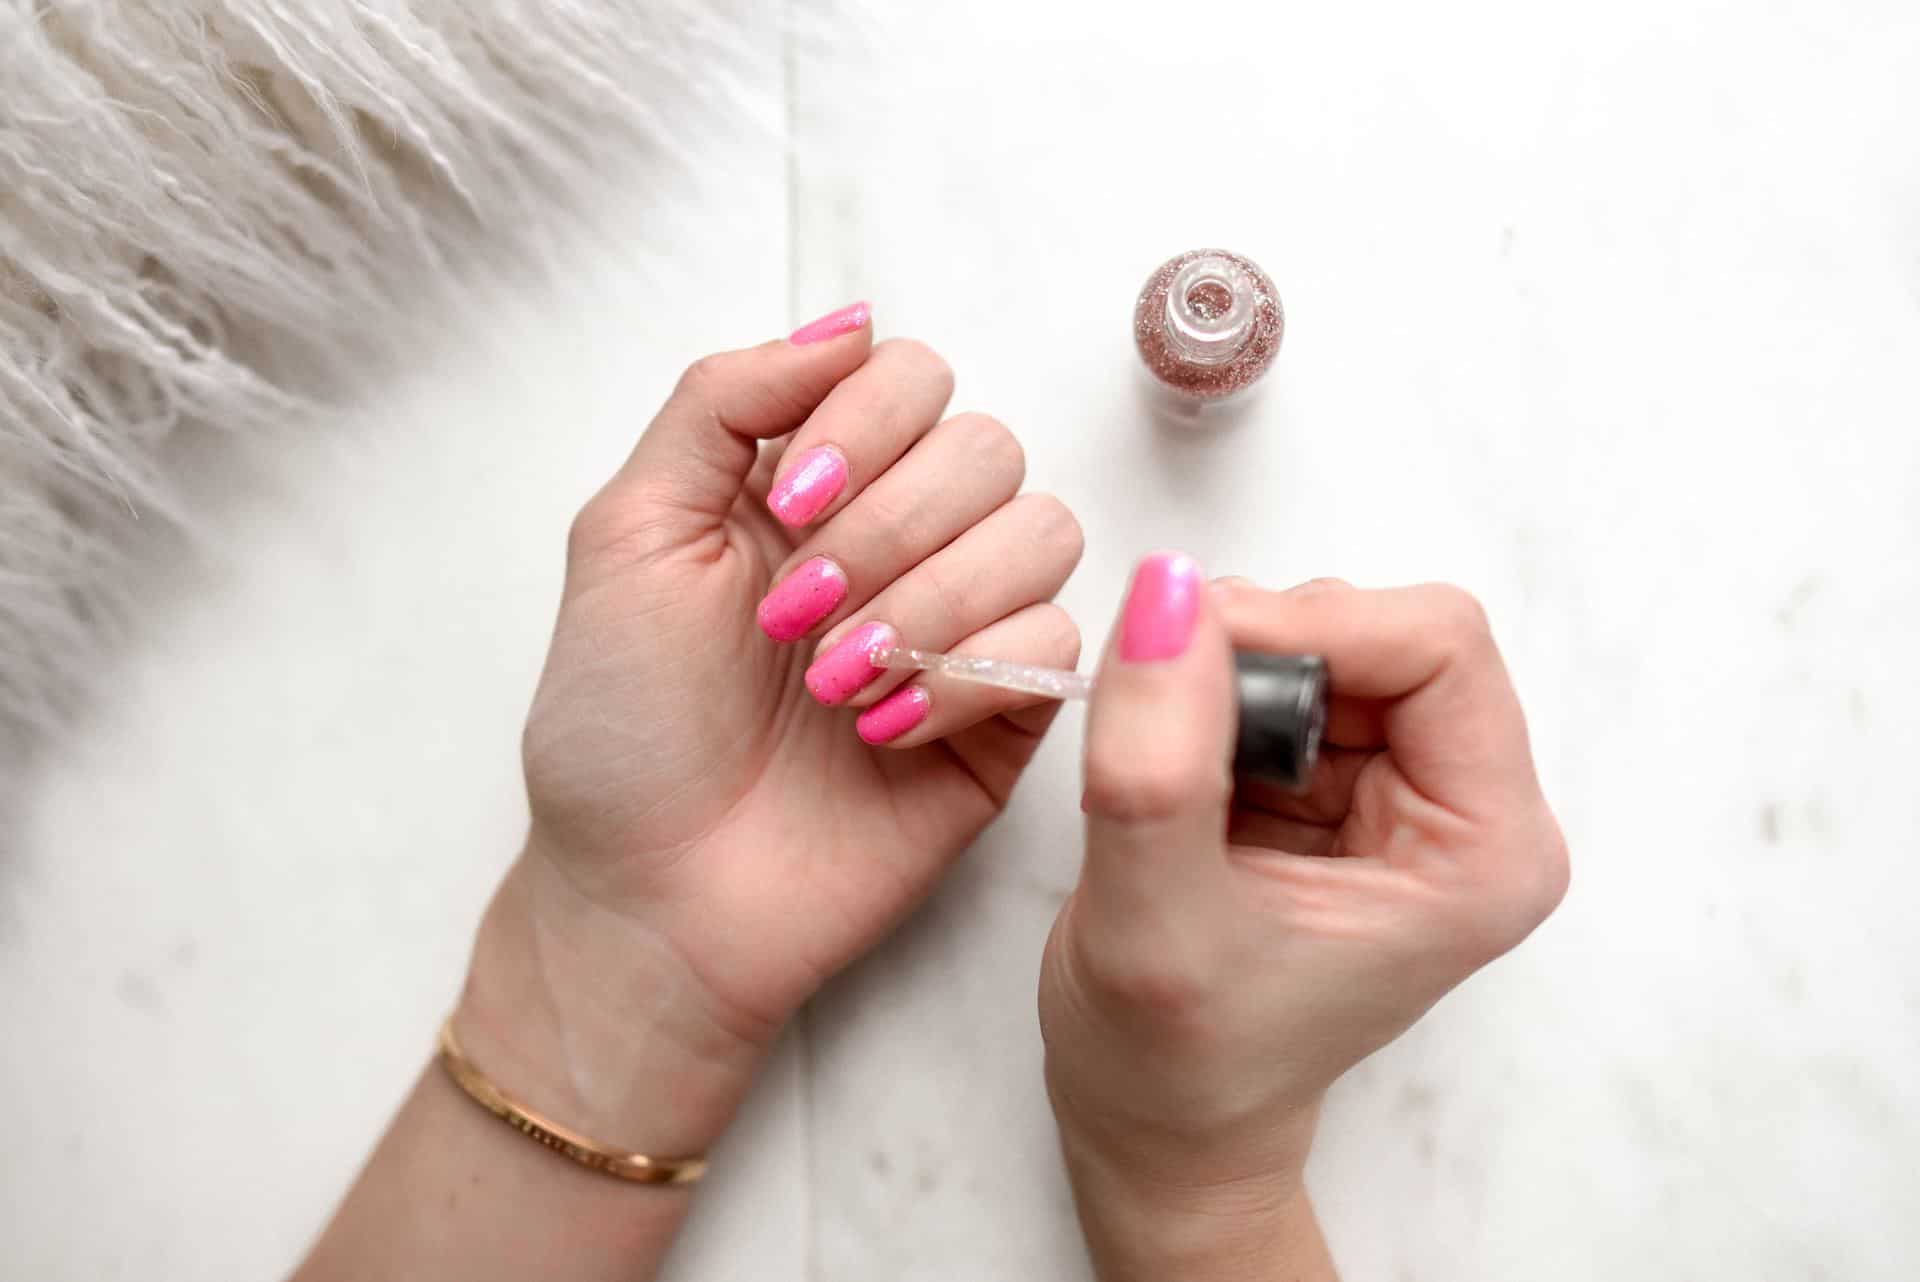
How to: Make Your Wedding Mani Last
When it comes to your wedding and honeymoon, you want every aspect of your beautification regimen to be -if not absolutely perfect- in its place and looking great.
For nails- the oft-forgotten cousin to those notoriously glamorous twins, hair and makeup– they need to not only look great, but last for as long as possible. So how exactly do you keep your manicure looking as fresh and untarnished as possible right from the ceremony all the way to your post-honeymoon homecoming?
Prep In the Weeks Ahead
First thing’s first: basic maintenance several weeks before the time, as well as during, is of the utmost importance. Start consciously caring for your nails as soon as possible before the wedding. If you know you’ll forget/ won’t be quite *that* bothered, 8 weeks of prep should significantly improve your nail and nail bed quality. Bonus: the sooner you do, the better your hands will look when you’re showing off that gorgeous engagement ring.
So, what exactly is the best way to go about this prep?
– Here’s an obvious one to start with – no biting, chewing, or peeling. Your nails can’t possibly grow to their strongest if you’re constantly picking them apart. To help you break the habit, and to start improving your nails right away, begin by creating a regular nail care regimen for yourself. If you bite them, and aren’t planning on wearing falsies for your wedding, grab an over-the counter nail- polish that discourages nail biting. These are designed to taste so awful that one prefers to leave their nails alone over enduring the taste of the polish.
– Nail experts recommend using hand and nail moisturiser twice a day as well as applying cuticle oil at bedtime. This keeps your nails and surrounding skin from drying out, making both your nails and your skin more supple and less susceptible to cracks and breakages. Don’t let yourself slack off once you begin to see results – as ever, the key to lasting results is maintenance. Keep this regimen going even throughout your honeymoon and you’ll see that not only the condition of your nails themselves stay in tip-top shape for longer, but so does your manicure.
Maintaining that Mani
As for that all-important manicure, remember this: whether it’s DIY or professional, real nails or artificial, the same basic principles apply.
(Courtesy fashionallure.com)
Some Top- Notch Manicure Secrets for the DIY Girls
-Prep for your manicure by applying either nail remover (acetone-free) or vodka to your nails. This will remove any dirt, dust, and oils, providing a good surface for your polish to grip to.
-Begin your manicure by applying a good quality base coat. Base coats are specially formulated to adhere to your nail’s surface and fill out any ridges. Once this has dried completely, apply your chosen colour.
-Rather than painting fewer coats with a thick texture, paint more thin coats layered on top of one another, making sure once again that each coat is bone dry before the next coat is applied. When you’ve achieved the desired level of nail colour opacity, apply a clear top coat to seal in your hard work.
– Investing in a good top coat is key for protection against nicks and chips. Take along this top coat and your nail colour to your wedding and honeymoon to fix up any mishaps that may occur.
For those who’ve Gone the Professional Route
Thankfully, you have a whole lot less to worry about when it comes to application- that’s your salon’s job. Your job, then, is careful maintenance.
– Before leaving the salon, be sure to purchase a bottle of the nail colour used on your manicure for those essential touch-ups just mentioned.
– Brides using artificial nails should be armed with spares and nail glue.
– Making the right decisions prior to your manicure can make things easier, too. Avoid rhinestones, glitter, sequins, and pretty much anything that has the potential to fall off on contact. Because- trust this writer who has experienced many a flubbed manicure- if it can, it will.
– Also try to pick a subtle colour, possibly with a bit of shimmer in it. This has three main benefits: first, shimmery colours tend to last longer on nails (they actually have a reputation as being rather tricky to remove, even when it’s on purpose), second, a subtle shade will allow your dress and face to take centre stage, and third, any minor damages sustained by the manicure will be less noticeable.
Some General Tips for Making Sure Those Babies Last
-Throughout your wedding day and honeymoon, be careful with your nails around water. If they are soaked or left wet for long periods of time, the shape of your nail will likely bend – only slightly, but enough to cause some damage to your manicure. After washing your hands or taking a shower, carefully pat your hands with a fluffy towel until they are completely dry.
Avoid using harsh soaps or chemical products on your hands for the same reason. In particular, any product containing alcohol will eat away at your topcoat and cause your nail colour to fade. So, nix the waterless hand sanitiser and be wary of fragranced products, as these too usually contain alcohol.


